How To Soundproof a Stud Wall

How to Soundproof a Stud Wall: A Complete Guide for Quieter Spaces
Why Soundproofing Your Stud Wall Matters
- Improved privacy: Keep conversations, phone calls, and music private.
- Better sleep: Reduce disturbances from noisy neighbours or traffic.
- Enhanced productivity: Focus better in home offices or study areas.
- Increased property value: Homes with quieter, well-insulated rooms are more attractive to buyers.
How to Soundproof a Stud Wall
- Fixed to existing plasterboard
- Adds mass to reduce airborne noise
- Quick installation and minimal space loss
- Suitable for low to moderate noise
- Remove plasterboard to access the cavity
- Install acoustic insulation between studs
- Add isolation clips/resilient bars and multiple layers of plasterboard, MLV, and sealant
- Delivers superior noise reduction, including low frequencies
Best Products for Soundproofing Stud Walls
- Acoustic insulation: Absorbs sound energy inside wall cavities and prevents resonance
- Soundproof plasterboard: High-density boards that block airborne noise
- Isolation clips: Decouple the wall from the structure, reducing vibration transfer
- Mass Loaded Vinyl (MLV): A flexible, dense material that blocks sound effectively
- Acoustic sealants: Seal gaps and cracks around joints, outlets, and edges to prevent sound leaks
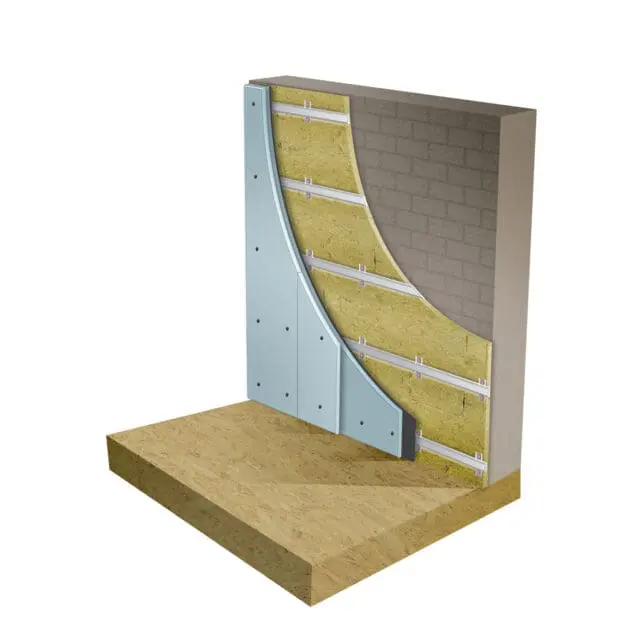
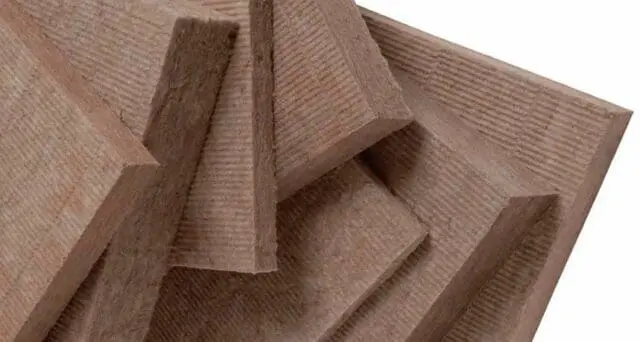
Acoustic Insulation Inside the Frame: The First Line of Defence
- Absorbs airborne sound and reduces echo.
- Reduces the drum effect of an empty wall cavity.
- Works with the wall structure to prevent vibration transmission.
- Enhances thermal insulation while doing so.
- Use mineral wool or fibreglass insulation for maximum sound absorption.
- Use 60kg/m³ acoustic insulation slabs inside stud walls for the best noise reduction.
- Ensure the insulation fills the entire cavity, with no gaps.
- Avoid compressing the insulation, as this reduces effectiveness.
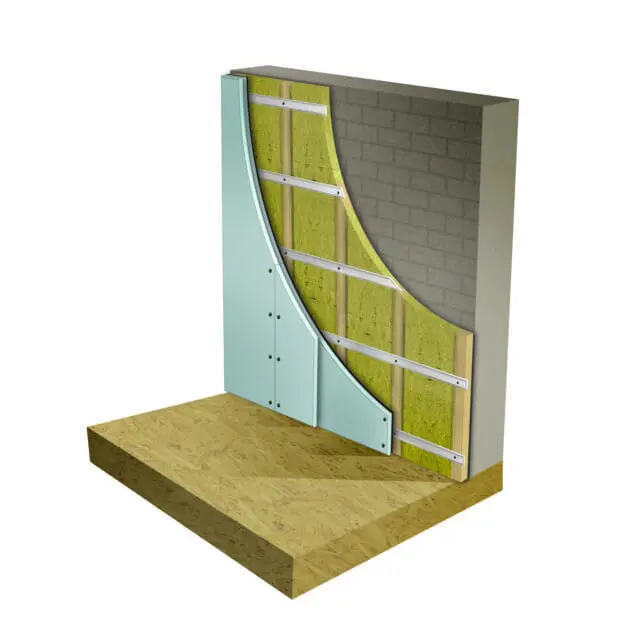
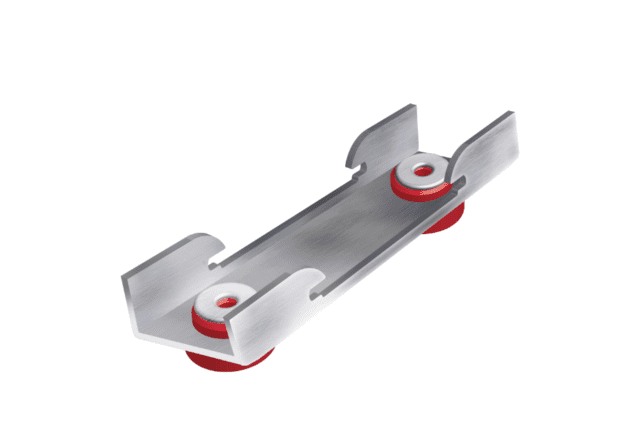
Sound Isolation Clips on the Frame: Breaking the Vibration Path
- Minimise structural-borne vibration noise.
- Isolating the stud from the plasterboard reduces sound transfer.
- Provide a stable framework for multiple layers of soundproof boards.
- Attach clips at regular intervals.
- Combine with resilient channels for even better isolation.
- Always follow the manufacturer’s instructions for load capacity.
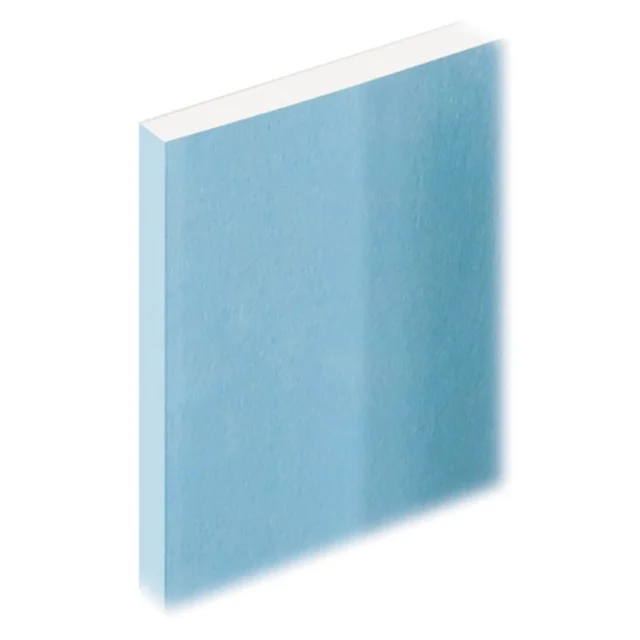
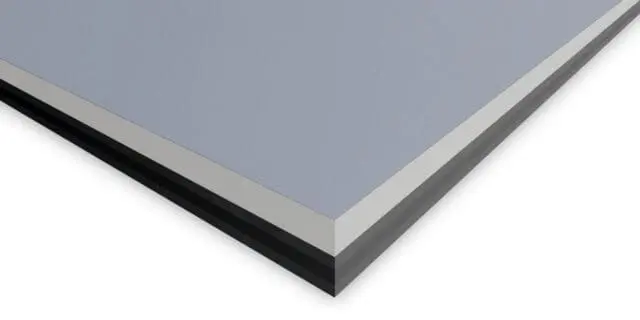
Soundproof Plasterboard: Adding Mass to Stop Noise
- Adds mass to absorb and block sound waves.
- It can be layered for extra sound reduction.
- Acoustic plasterboards are also fire-resistant.
- Stagger seams to prevent sound leaks.
- Use acoustic sealant around edges to seal gaps.
- Consider double layers in high-noise areas, such as home theatres or nurseries.
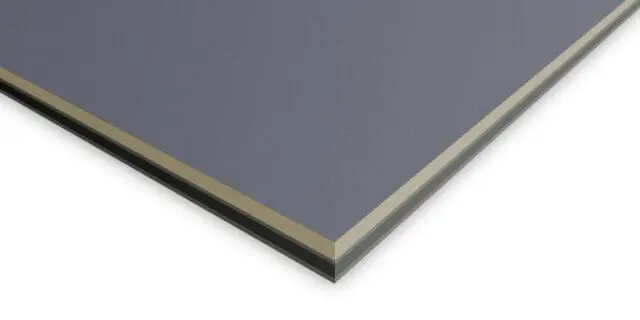
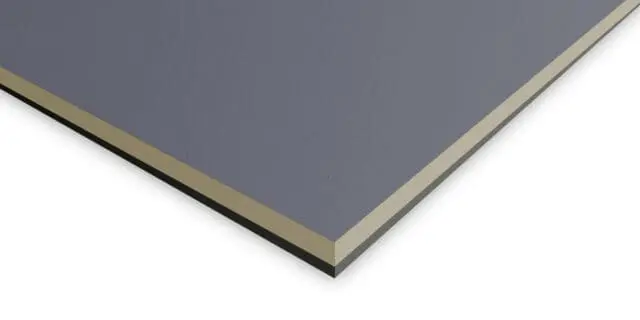
MLV (Mass Loaded Vinyl): Flexible Mass for Noise Reduction
After installing insulation and clips, adding Mass Loaded Vinyl (MLV) is a highly effective way to further block sound. MLV is a dense, flexible material that adds significant mass to walls, ceilings, or floors, helping to stop sound from passing through.
Advantages of MLV:
- Adds substantial mass without taking up much space.
- Flexible, making it suitable for walls, ceilings, and floors.
- Can be combined with insulation and plasterboard for superior soundproofing.
Installation pointers:
- Hang or lay MLV so it covers the entire surface, avoiding gaps.
- Overlap seams and seal edges with acoustic tape or sealant.
- Consider layering with other materials (like plasterboard) in areas with heavy noise, such as home theatres, music rooms, or busy streets.

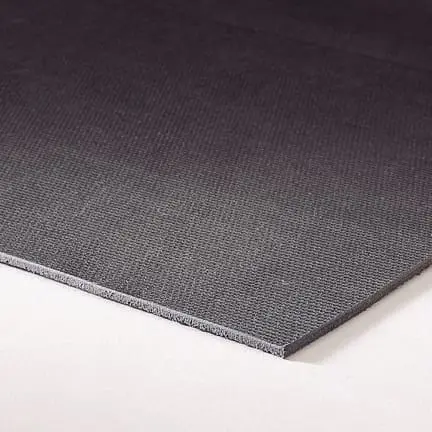
Direct-to-Wall Panels: Perfect for Tight Spaces
- Ideal for small rooms with limited space.
- Quick installation with minimal disruption.
- Soundproof panels, along with other soundproofing measures, provide maximum effect.
- Choose high-density acoustic panels.
- Seal edges with acoustic caulk to prevent sound leakage.
- Finish the panels with plaster skim or decorate directly onto the panel.
Soundproofing Stud Walls FAQs
The most effective method combines multiple techniques:
-
Filling the stud cavities with acoustic insulation (mineral wool or fibreglass).
-
Installing sound isolation clips to decouple the wallboard from the studs.
-
Adding soundproof plasterboard or multiple layers of drywall.
-
Sealing gaps with acoustic sealant to prevent sound leaks.
Using all these together can significantly reduce both airborne and impact noise.
Yes! If space is limited, you can use direct-to-wall acoustic panels or soundproof plasterboard applied over the existing wall. This method adds mass and sound absorption without taking up much room or requiring major construction. Alternatively, use a soundproofing system like the AcoustiClip Stud Wall Kit to achieve the best possible soundproofing.
A properly treated stud wall can reduce sound by 30–60 decibels, depending on the materials used and installation quality. Using insulation, clips, and soundproof plasterboard together provides the highest level of reduction for both airborne and impact noise.
Yes! Soundproofing a stud wall also:
-
Improves thermal insulation, keeping rooms warmer in winter and cooler in summer.
-
Increases privacy in shared spaces.
-
Can enhance property value by creating quieter, more comfortable living areas.
-
Helps create professional-quality environments for home offices, music rooms, or studios.
- Mass-loaded vinyl (MLV): A dense, flexible material that blocks sound.
- Soundproof panels: High-density soundproofing boards that block sound.
- Acoustic insulation slabs: Help absorb sound within wall cavities.
- Decoupling clips: Sound-isolation clips decouple the existing wall from the new wall, reducing vibration noise.
- Soundproof Plasterboard: Denser than standard plasterboard, making it better at blocking airborne sound.